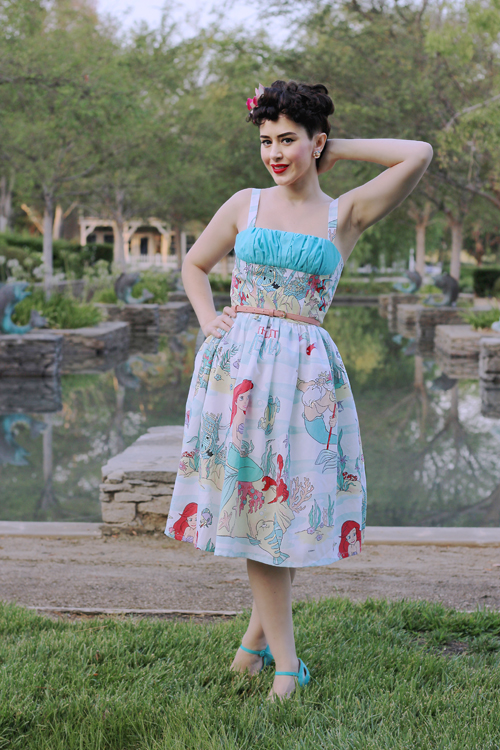
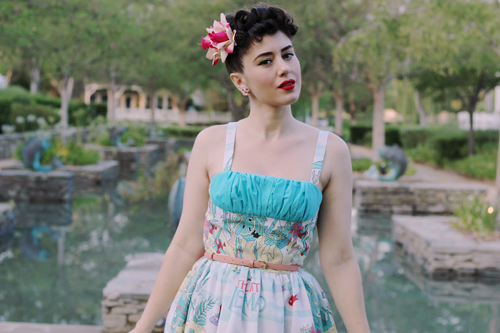
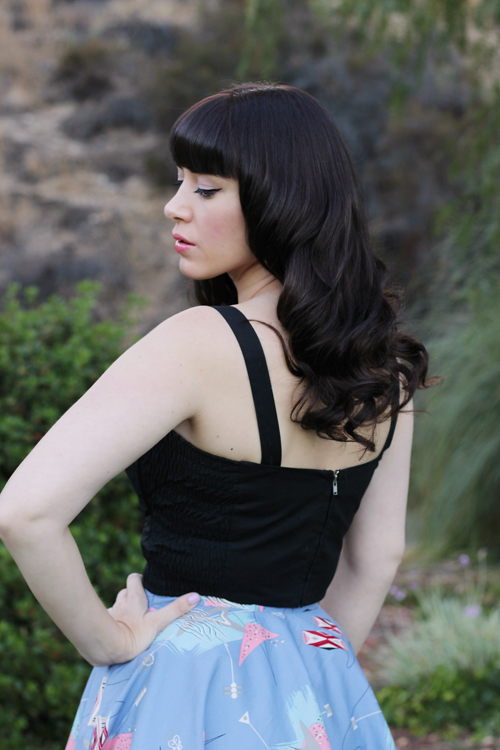
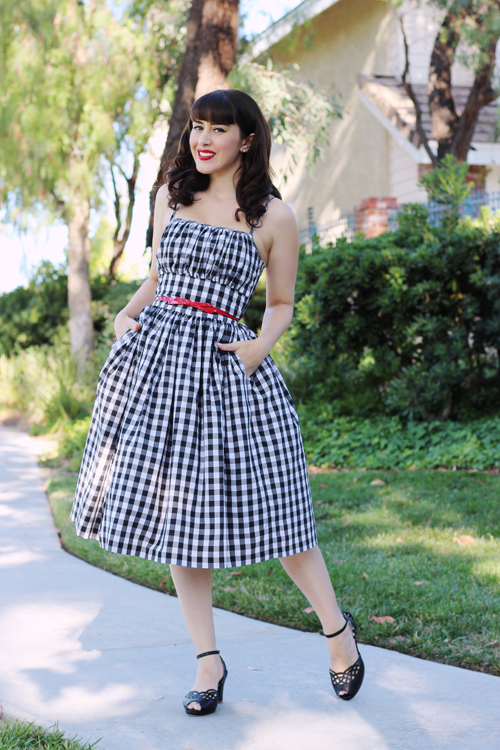
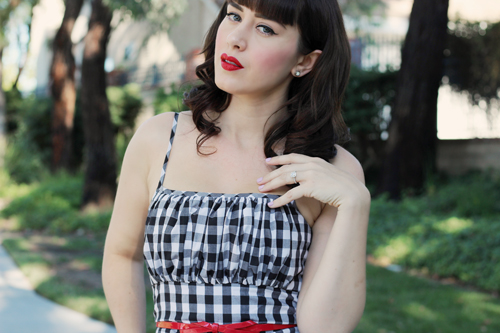
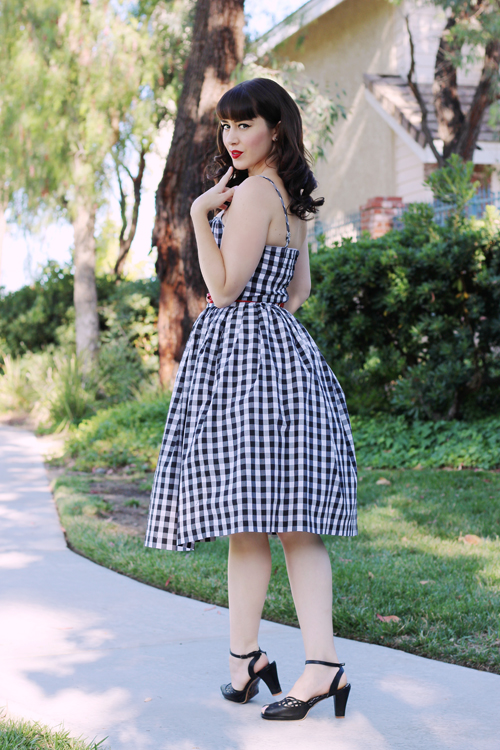
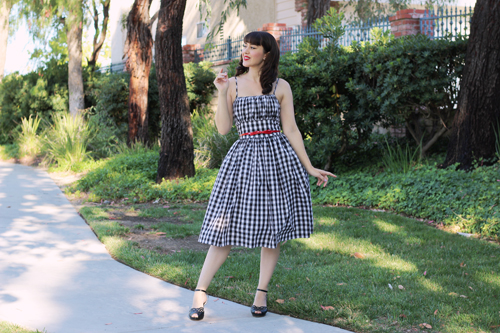
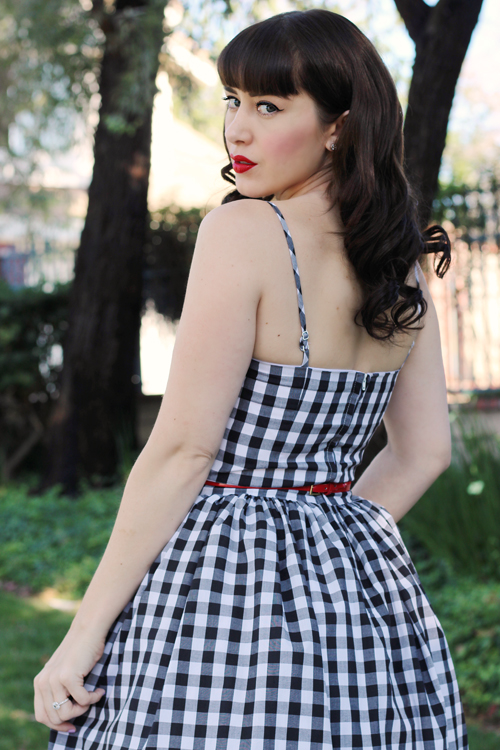
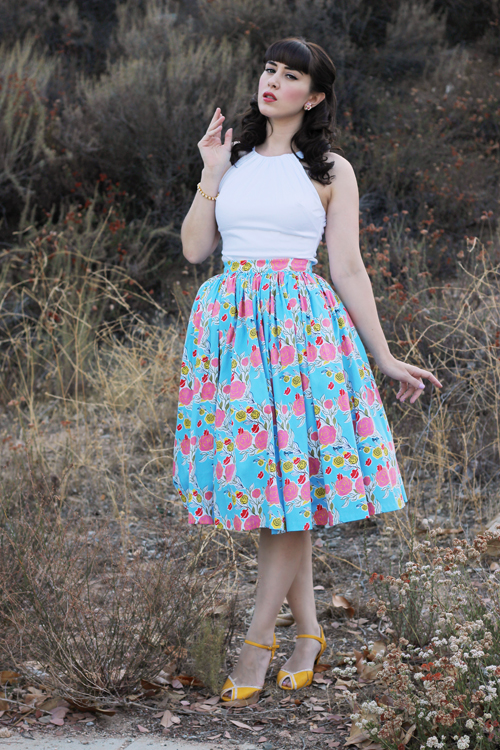
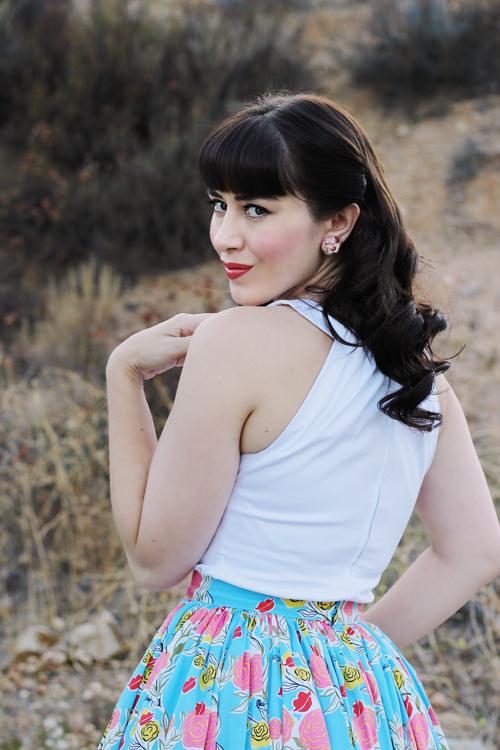
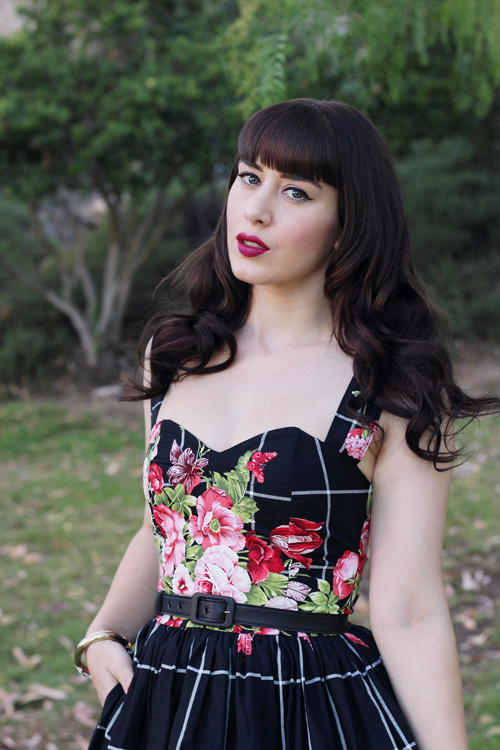
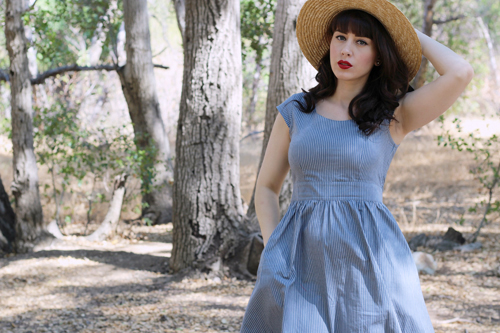
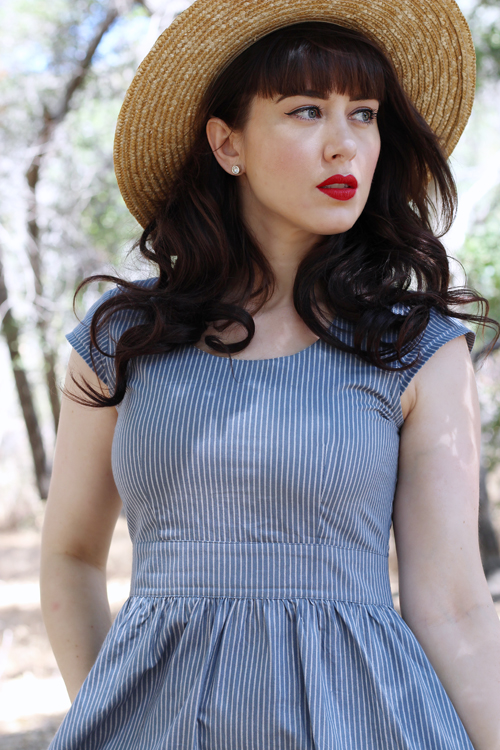
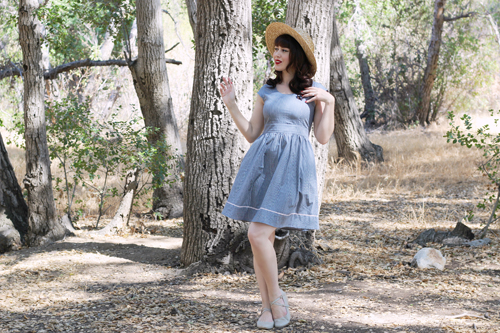
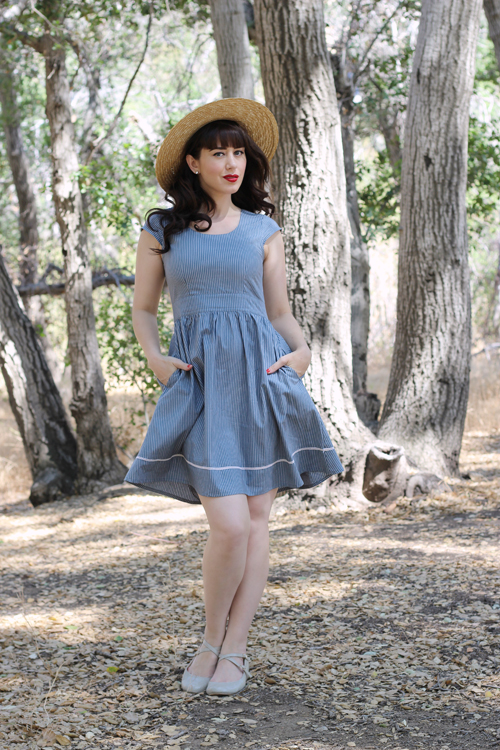
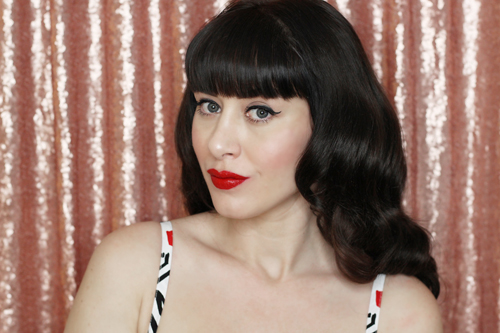
Everyone loves a classic red lip, am I right? It's my go-to hue and appropriate for a fancy date night or trying to disguise the rest of my makeup free face. The biggest problem I've encountered with wearing a bold red lip is getting it
everywhere. Eating, kissing my husband, child, or dogs, or just plain forgetting I have lipstick on... I always end up looking a mess. I've been trying to nail down the perfect routine for my favorite lip color for months and I finally have the perfect combo! Read my step by step tutorial on how to create a long lasting red lip below:
Step1: Exfoliate
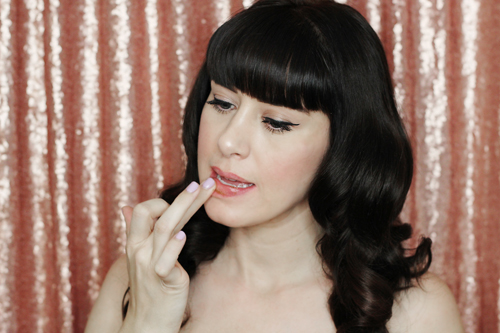
I can't stress this one enough! You need to start with a blank canvas, and if you have dry lips like me, that doesn't come naturally. I like to use
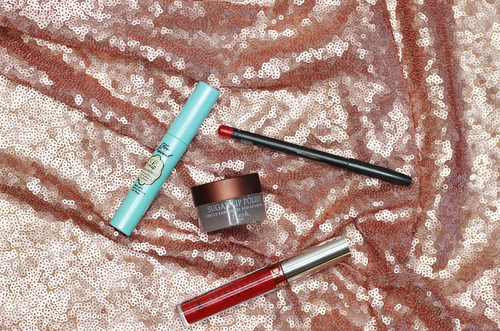
Sugar Lip Polish from Fresh.
It uses sugar to exfoliate and hydrate your lips. It smells amazing (and maybe tastes good too)! You need just a small dab on your finger to get that much desired blank canvas. While you can technically move on to step 2 from here, I like to apply a thin coat of
Fresh Sugar Lip Treatment. It gives me the extra moisture I need, especially when using a liquid lipstick.
Step 2: Prime
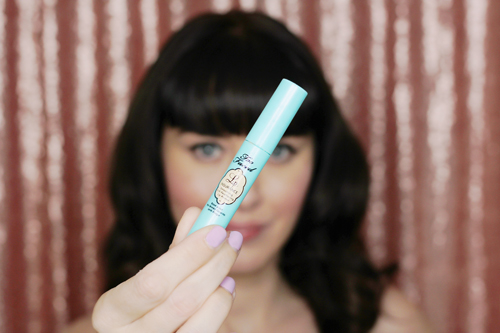
I like to use a primer every time I wear lipstick. It sets the stage and locks in your lip color, whether you use a long lasting lipstick or not. My personal favorite is
Lip Insurance Lip Primer from Too Faced. It leaves a nice, quick dry finish. Perfect for the mom on the go!
Step 3: Line
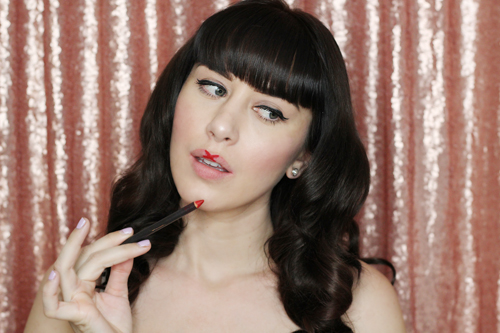
If you're a makeup maven (aka not me) you can probably skip this step. But I like to line my lips before adding the actual color. Because I'm using a liquid lipstick that dries quickly, having my lips lined really helps me define the area I need to fill in and decreases the chances of having an "oops" moment. My favorite red liner of all time is
MAC Lip Pencil in Cherry. I've been using it for many years and I have yet to find something else on the same level. I feel like the cupid's bow is the hardest to define naturally, so I like to draw an "X" before I start lining everything else. Because I already used primer, lining the lips can be a bit more difficult, but I prefer struggling and having those defined lines. Again, this is a personal preference. You can prime without lining and line without priming, I just like doing both.
Step 4: Fill
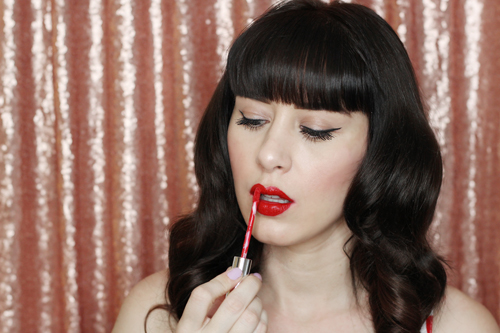
Last but not least, time to finish off your look with your favorite lip color! For this tutorial, I'm using
Anastasia Beverly Hills Liquid Lipstick in Cherry Red, but you can use whatever you want. I've almost forgotten how to use normal lipstick because I love the long lasting effects from Anastasia's Liquid Lipsticks. Since my lips are already lined, filling them in with my color of choice is both easy and relatively mess free. Once it dries, your perfect red hue is locked in!
Tips:
-
Lines aren't perfect like you want? Nothing a cotton precision tip can't fix! If you work quickly, you can easily erase your mistakes with these fine tipped beauty tools. If there is still lipstick residue, apply concealer with a brush to cover the area. I like to use Amazing Costmetics concealer paired with their concealer brush.
- Does your color look a little dull after eating/longtime wear? While I'd suggest removing everything and starting over to avoid feathering, applying a thin coat of chap stick can help. I'll blot off with a napkin and then apply the lipstick again. It works for a quick color refresh!
- Having a hard time getting your lipstick off at the end of the day? While makeup wipes are great, they can be expensive. I like to take a dab of coconut oil and rub it on my lips (it can be solid or liquid) and it comes off with ease!
Have any questions for me? Let me know in the comments below!
xoxo
Ashley
