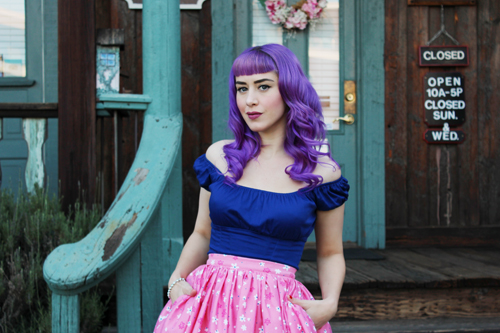
As many of you know, I love to wear extensions. I enjoy being able to choose whether I want my hair to be styled long or short on any given day. Because my hair is such a specific color, I couldn't just pick something that matched my color off the shelf. I've become very familiar with the dyeing process and thanks to
Irresistible Me Hair Extensions, I'll be giving you a step by step process to help you achieve the perfect color!
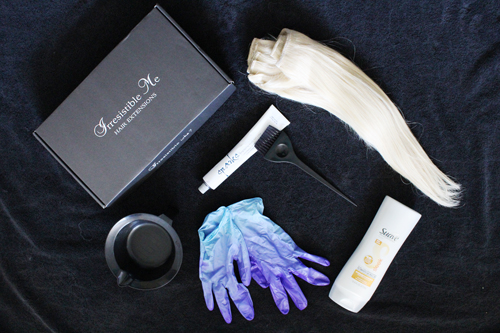
Here's a list of things I needed for the process:
-
Irresistible Me Hair Extensions in Silky Platinum Blonde
- Hair dye of choice. I used
Sparks Color in Purple Passion, which I mix with conditioner to achieve the desired color. If you use hair dye with developer, I'd suggest mixing according to the instructions provided.
-
Gloves
-
Mixing bowl
-
Tint brush
-
Fine toothed comb (not pictured but very important!)
-
Dark colored towel
Create Your Space/ Mix Your Color
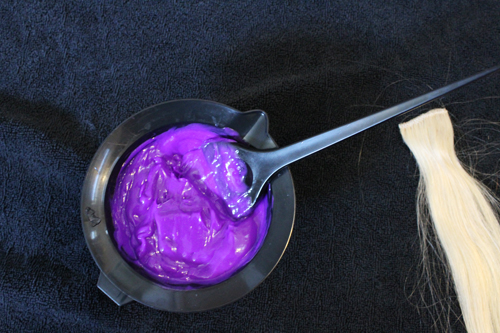
Start by creating your work space with the dark towel. Even if you do end up staining the towel, you'll never know it! Then begin to mix your dye. Due to my method of coloring (which is pretty standard when you're doing something rainbow colored), I have to do a strand test first to make sure I create the desired color I need. I start with one of my smallest strands and brush the color into the hair slightly. In this case, it was a little too light so I had to add some more color. Once you have the perfect shade you're ready to go!
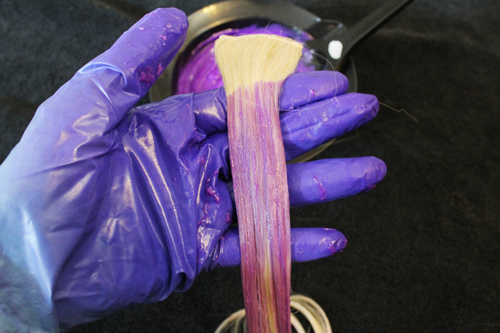 Paint!
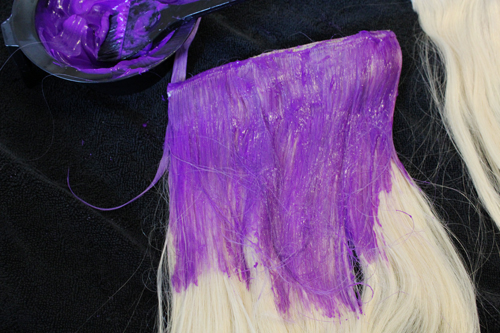
I like to start with the thickest strand first. If you've never worn Irresistible Me extensions before, they provide one extremely thick weft that perfectly fills in "negative space" that other extension companies don't offer. It's seriously the best because it makes your long hair very hard to detect as fake! It will take a very long time to get into every nook and cranny when you're dyeing it though. I actually part the weft in half and color each side, as it helps with getting all the color in there. Use a fine toothed comb to very gently comb through the weft after you apply a few strokes of color. It's a great help when you want to evenly distribute the color. Make sure to saturate the seam line, as well as the hair behind the clip. Those areas are easily forgotten! Once the entire weft is saturated, comb through once more and set aside on your towel. Keep repeating until all the wefts are saturated with color.
 Let It Sit
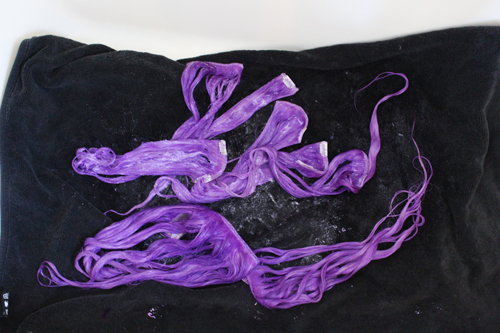
The next step all depends on the color you use for your extensions. Make sure to process the color for as long as the instructions advise you to do so. If you're using a vegetable based color like myself, the longer you leave it on the better. I set my towel into an empty bathtub (so my toddler/dogs don't get curious) and go about my day. The least amount of time I'll process it is two hours, but if I start the process at night I'll leave it in until morning.
Wash It Out
Because this isn't hair from your head (and won't grow back), I always take extra precautions when washing the color out. Make sure to use cold water to keep the color locked in. Once you've done a clean rinse, take a weft and lightly shampoo, wash, and deep condition it. Then set it aside to absorb the conditioner. Continue this process with each weft. Once they're all done, start washing the conditioner off of each one.
Let It Dry
I highly recommend letting your extensions dry naturally. I'll take another dark towel and gently squeeze (not rub) the hair as dry as I can. I'll then take a skirt hanger and clip the wefts to hang dry. Once they've dried completely, I'll style them to my heart's desire!
I'd like to note that since I've composed this post I've changed my hair color (and my hair extensions) to dark brown. I basically repeated the exact process and they turned out lovely! While I don't recommend dyeing your extensions frequently, I was quite impressed with how resilient they are.
Have any questions? Please let me know in the comments below!
xoxo
Ashley


This is super useful - just in case I want to color my tape in extensions in the future! Thanks! ;)
ReplyDeleteKeep up the great work!
xoxo Suzy ( ˘ ³˘)♥
THE KAWAII PLANET